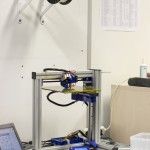
 In the first post of this series I write how we improved our 3D-Printer to print lager and more complex models. I also mentioned that i want a powerful and cheap LED-Ring for my DSLR. So folks, here is step 2:

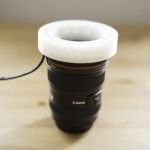
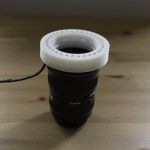
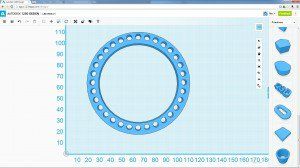
After some successful new prints with the filament holder I tuned some of the parameters for the filament (Temperature, Speed etc.) and also fine adjust the printer. After this, a new CAD project had to be done. The first draft i cam up with was a single tube with 90×90 mm and 5 mm thick. For the inner diameter I choose 70 mm in order to fit a 77 mm filter winding for my Sigma 50 mm /1.4. This Lens have a 77 mm filter winding but the lens is actually only 67 mm in diameter. I fitted 32 holes in it, each 5 mm diameter because the most LEDs have 5 mm, and print it. During the print I searched for LEDs. I ended up with 40 LW514 because they have a luminous intensity of around 35 cd. This will give me in sum 1120 cd with an beam angle of 15°. This will give me around 4000 lx in a distance of 0.5 m and 1100 in a distance of 1 m. For example a TV studio have around 1000 lx.
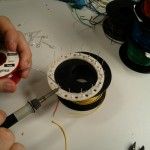
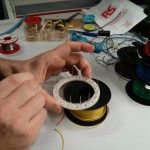
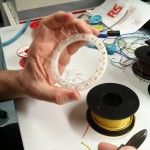
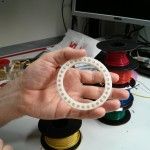
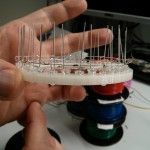
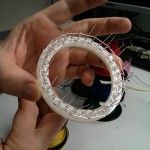
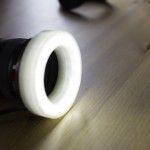
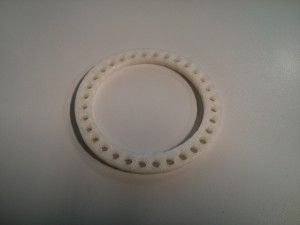
 The printed ring had some issues with the holes so I had to drill them to 5 mm but i looks fine. Unfortunately I hadn’t think about the mounting for the LEDs and also protection of the circuit and so on. But how cares…
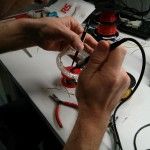
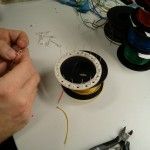
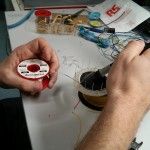
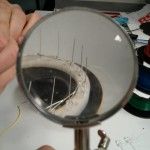
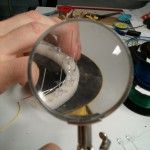
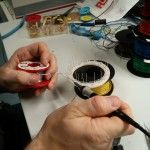
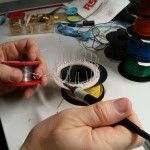
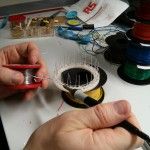
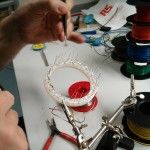
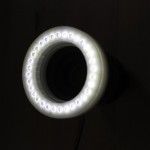
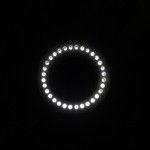
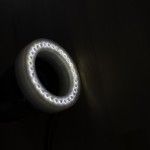
A friend of mine came up with a great idea for soldering, so that we don’t need an additionally PCB or wires. We used the leds of the LED to create an inner and an outer Ring. The inner ring is the VCC and the outer GND. Between two LEDs we soldered a resistor (100k Ohms) as series resistance. But take a look for yourself… 🙂
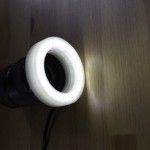
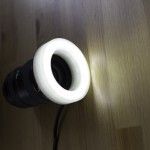
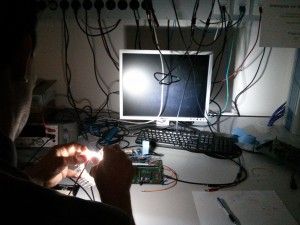
Sadly i didn’t take a picture of the full ring working so here is a picture with 10 active LEDs, quite bright. But I wasn’t satisfied with the result so I imitatively start to think about V2…
To be continued…




































 In the first post of this series I write how we improved our 3D-Printer to print lager and more complex models. I also mentioned that i want a powerful and cheap LED-Ring for my DSLR. So folks, here is step 2:
 The printed ring had some issues with the holes so I had to drill them to 5 mm but i looks fine. Unfortunately I hadn’t think about the mounting for the LEDs and also protection of the circuit and so on. But how cares…