UPDATE 3: recently 500px changed the website and you cannot see the number of likes anymore…
UPDATE 2: Now i’m continuing the test, but this time with an another account and a new picture. I’ll now wait the whole 24 hours period of 500px and upload only once a day.
Test Uploads, Score of the Picture according to 500px Pulse and the absolute Views/Likes/Favorites
| Date/Time |
8 am |
10 am |
12 am |
2 pm |
4 pm |
6 pm |
8 pm |
10 pm |
12 pm |
2 am |
| Monday |
|
88.2
166/-/22 |
88.9
170/27/4 |
88
199/27/9 |
90.5
197/32/8 |
|
|
85.1
33/19/3 |
|
|
| Tuesday |
|
|
88.3
213/22/10 |
90.6
219/31/7 |
|
63,9
42/5/2 |
|
|
|
|
| Wednesday |
|
|
|
91.3
363/34/9 |
89.7
146/25/11 |
56,6
12/4/1 |
|
|
|
|
| Thursday |
|
|
|
87.7
393/23/6 |
87.1
123/21/8 |
iP |
|
93.0
530/43/11 |
|
|
| Friday |
|
|
|
|
|
|
|
|
|
|
| Saturday |
|
|
|
|
|
|
|
|
|
|
| Sunday |
|
|
|
60.1
28/5/1 |
85.0
97/18/4 |
|
|
|
|
|
UPDATE: I just stopped this test, because I realized, that the users rating is influencing the tests. When I was uploading normally my pictures before, the first Like was worth about 27 Pulse, the second something around 15 and so on. Whit my test is was upload 5-6 times per day the same picture. At the last day, a Like was worth 10 Pulse! With this, my test will deliver really bad results and completely destroy me repetition on 500px. I decided to slow down this test and upload the picture not so often anymore. Maybe I will use the whole 24 hours span of 500px to get the real rating.
I’m not completely sure how the algorithm works, but according to my findings, a click on Like is not worth 27 Pulse at all time and all users. Below, the rating of three pictures can be seen. (Sorry for German… 🙂 ) All of them have the same Likes and Favorites, but different Rating. All of them are from the “New” section at the same 10 minutes. And all of them had no comments. The first one is mine. It seems that the view to like ratio does not influence the rating that much, since the third picture hat more views but a higher score. Whats left over, is the users rating. Correct me if i’m wrong!

Since some time I’m participate on 500px.com, to share my photos and get some feedback on the composition and processing etc. My choice felt to 500px.com because I don’t want to create an Yahoo account, I simply didn’t thought about Tumblr and I hate the iPhone majority on Instagram (yes, I have a rooted Android :P). Anyway, 500px offers with the rating system an interesting way of measure the, let’s say, “Beauty” of your pictures, compositions and processing. Also you can have the pictures still with a CC license (maybe the others have this as well, donno…). After I uploaded some photos I got exited. I was spending nights with watching other photos, like them and post some comments. On the other side my pictures get a relatively good rank and some nice comments. But, for high quality critics, go somewhere else. I had some nice rating over 90 and 95 also. 500px has a nice rating system called Pulse. If you want to sell pictures, a high rating, Pulse, is recommended.
Still my best one: The Battle of the Nations Monument in Leipzig.
When the days got longer, I had some time at the golden hour and blue hour to take some pictures. I also had a new lens and I was still exited with my new 6D. I started photographing at 5 pm and ended at 9 pm or later. After that processing the pictures was not in my mood and I left that for the next day. So i stood up, made some processing and uploaded the pictures, let’s say, between 9:00 and 9:30 (CET) in the morning, three, four days in a row. I was really surprised that the rating where just around 70-80, sometimes less. Could it be that I’m, not like I thought a little bit good, really bad at photographing?
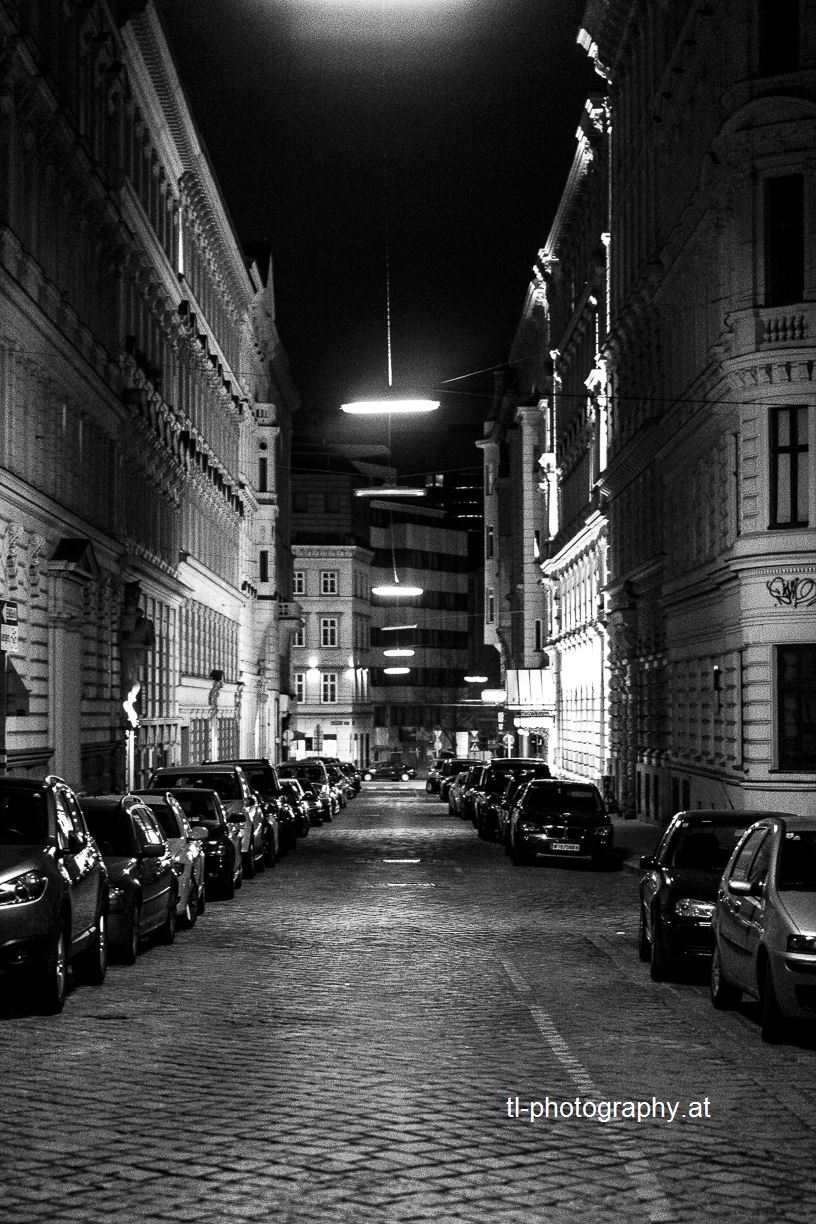
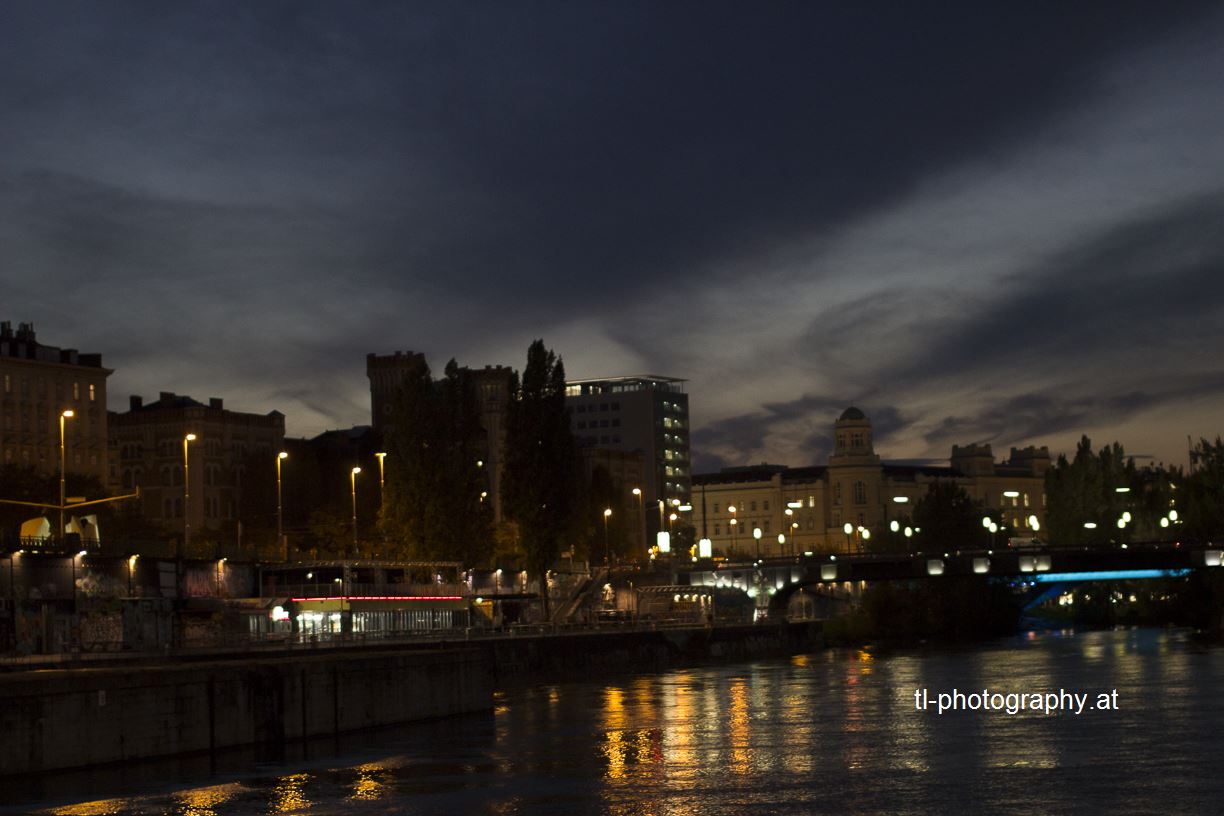
 But I was going curious. I noticed also that the count of viewers where not that high like before. OK, no views, no likes, no rating. Even the best pictures of 500px have normally a 1-to-10 rating for “likes” to views and even less with “favorite“. So I made a simply test with one of my pictures. The photo on the right is the DC Tower in Vienna. Not the greatest picture, I know but a 80 worth for sure. The first time i uploaded this picture at around 9-10 AM CET, the pulse stood still after some hours, at around 70. The second time, I uploaded at 8 PM CET. And voilà, the pulse reached 90.7. Also the views where going from some under 100 to over 400. So there are clearly some good and bad times for uploading photos to 500px.
I decided to make a test with one of my newest pictures from Vienna. Also not a very good picture, but clearly worth a 80 or 85. I will upload this picture the next weeks to different time and will not interact with 500px at all, only to see the rating and the views after 2 hours and the upload to a different time again. I started today again at 9:30 AM CET. I’ll try to update this post recently to the latest results as soon as possible.
Test Uploads, Score of the Picture according to 500px Pulse and the absolute views
| Date/Time |
8 am |
10 am |
12 am |
2 pm |
4 pm |
6 pm |
8 pm |
10 pm |
12 pm |
2 am |
| Monday |
|
67.0 |
|
|
|
|
|
|
|
|
| Tuesday |
|
|
|
84.9 |
|
86.9 |
|
|
|
|
| Wednesday |
|
|
82.1 |
75.9 |
50.2 |
|
85.2 |
56.4 |
56,6/26 |
|
| Thursday |
|
|
65.6/34 |
68,6/24 |
69.8/35 |
58,5/21 |
|
|
|
|
| Friday |
|
|
|
39.6/8 |
|
iP |
|
|
|
|
| Saturday |
|
|
|
|
|
|
|
|
|
|
| Sunday |
|
|
|
|
|
|
|
|
|
|


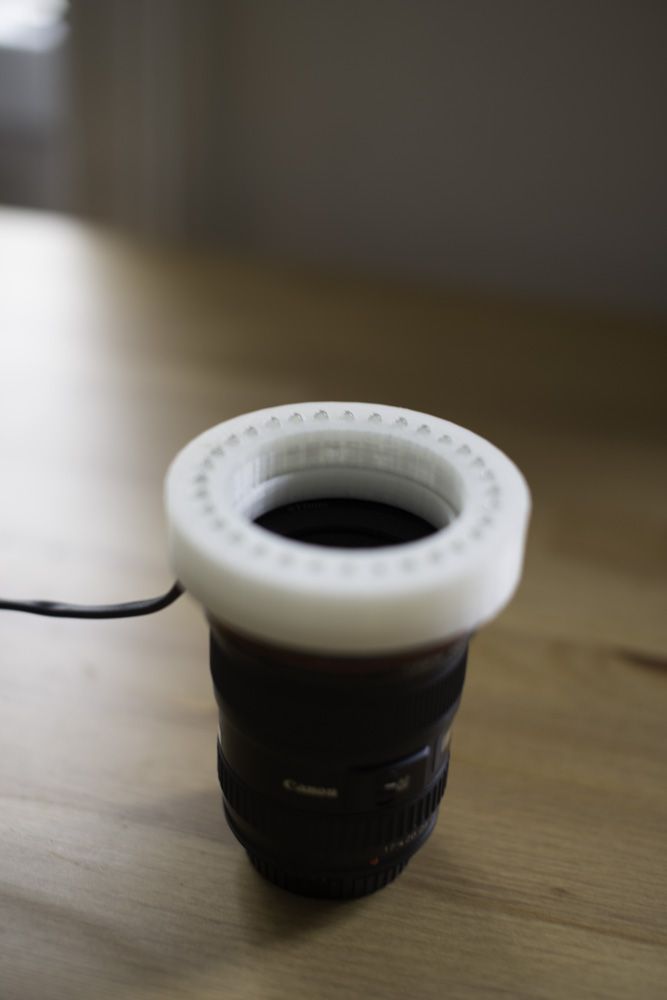
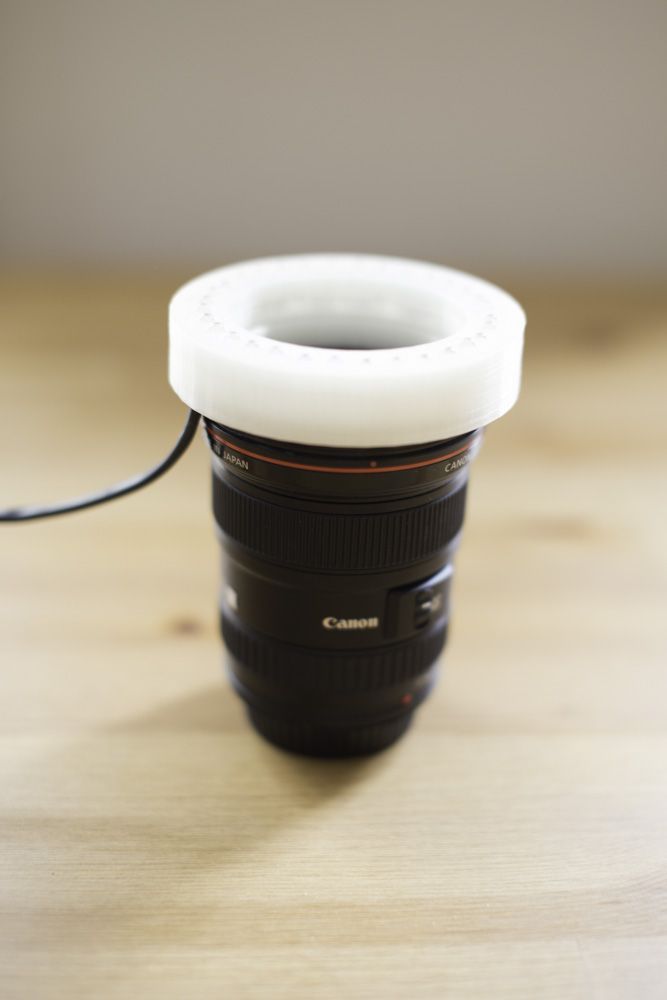
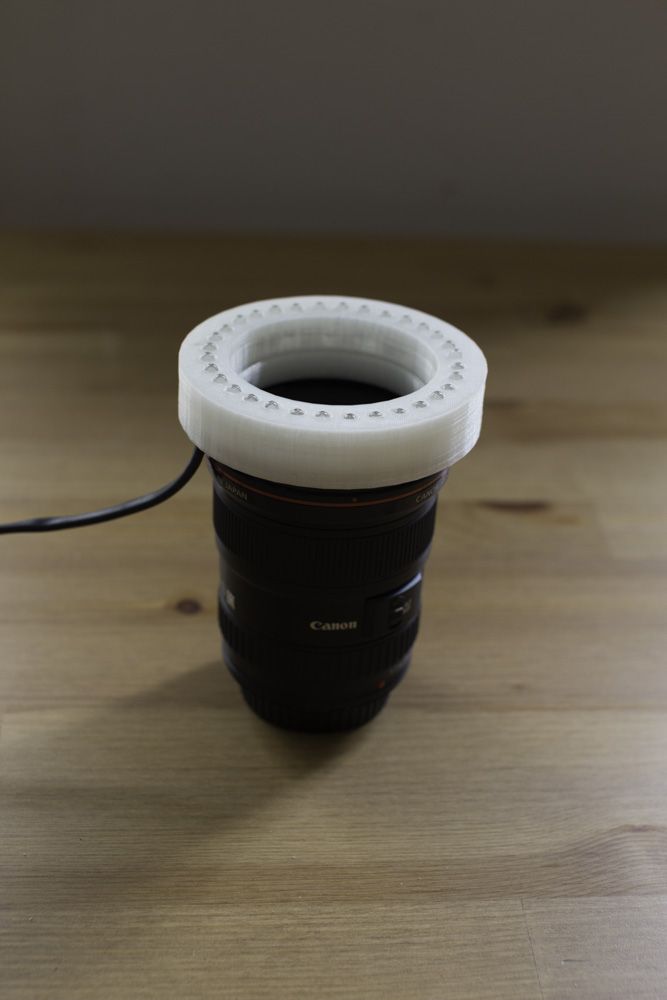
 Today I installed

 But I was going curious. I noticed also that the count of viewers where not that high like before. OK, no views, no likes, no rating. Even the best pictures of 500px have normally a 1-to-10 rating for “likes” to views and even less with “favorite“. So I made a simply test with one of my pictures. The photo on the right is the DC Tower in Vienna. Not the greatest picture, I know but a 80 worth for sure. The first time i uploaded this picture at around 9-10 AM CET, the pulse stood still after some hours, at around 70. The second time, I uploaded at 8 PM CET. And voilà, the pulse reached 90.7. Also the views where going from some under 100 to over 400. So there are clearly some good and bad times for uploading photos to 500px.